Clickable images
This article assumes that you are now editing an existing or newly created course in the Course Builder.
Clickable Images enable your end users to see a second, alternative image when they hover over an image within
your course. You can also select a clickable image to take you to a different scene or module within this course.
To add a Clickable Image:
1. Hover over Edit Scene in the Course Editor and then select Add Clickable Image.
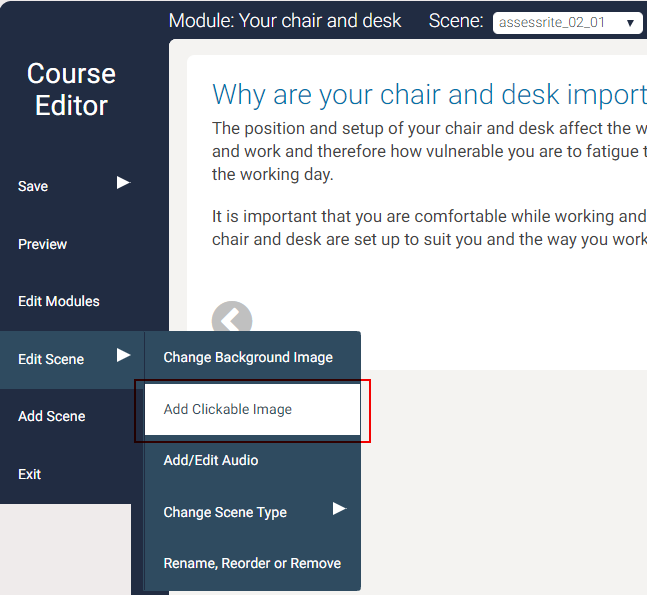
A default image will then appear within your scene.
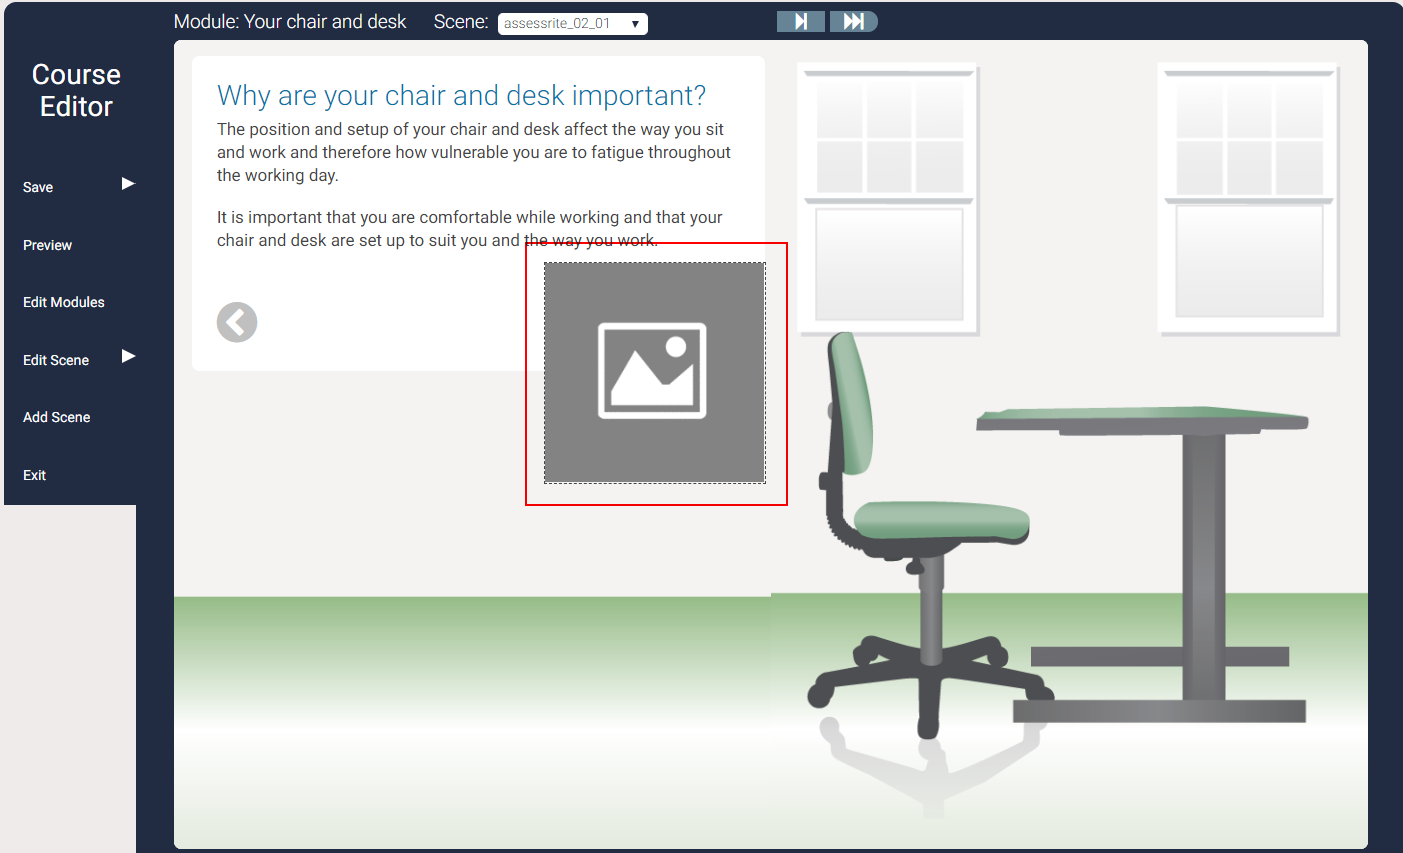
2. Hold and drag the image box to the position that you would like it in your scene. You can also drag the corners and sides of the image to resize it.
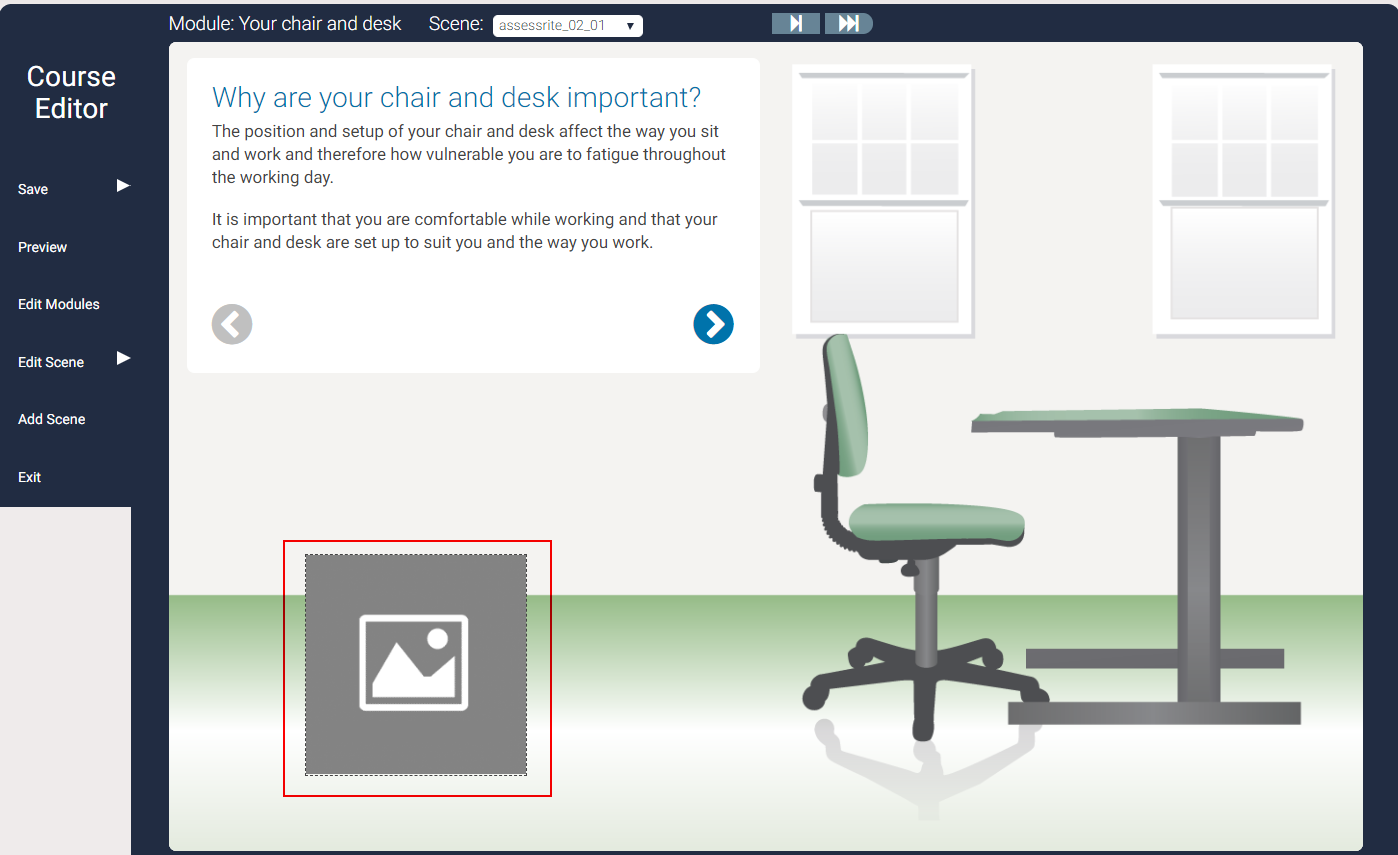
You can see the image box has been repositioned.
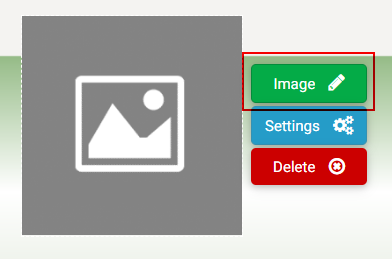
3. Hover over the image and click on the Image button to select an existing or upload a new image.
The Change Image pop up is displayed. By default, the Main Image option is selected.
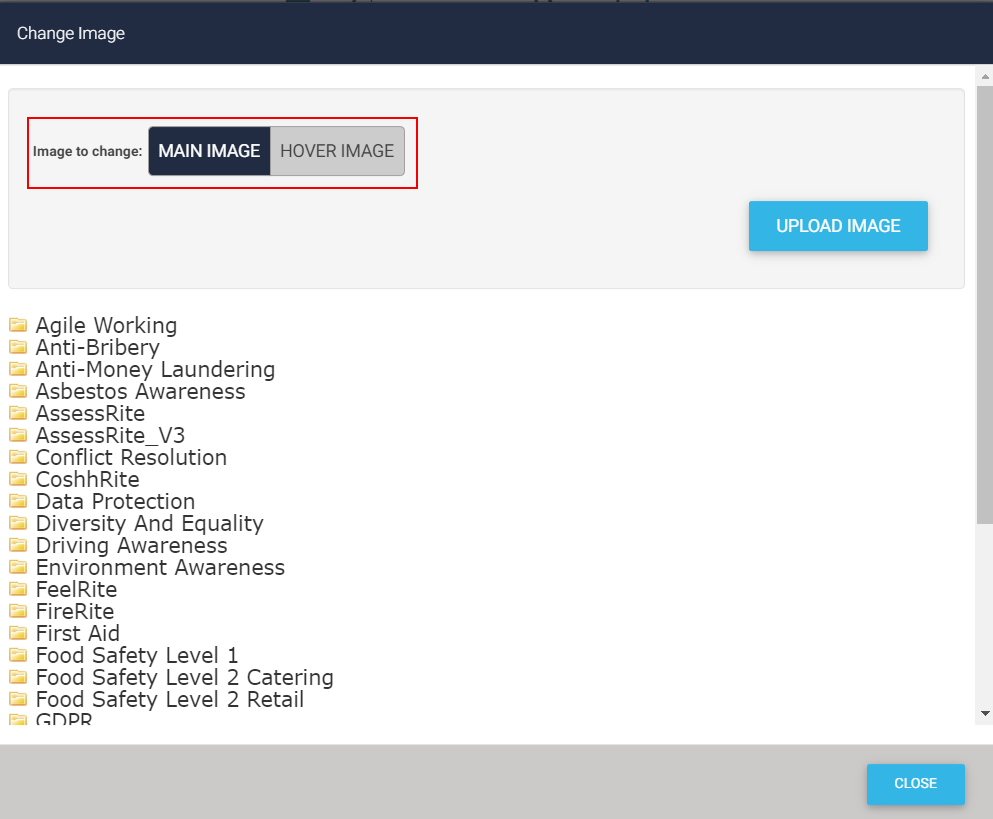
You can select Hover Image at the top of the page to upload or select a second image which will appear when the learner hovers over the original image.
4. Insert the images you wish to include as clickable images by opening the folder the image is stored in and selecting the image(s).
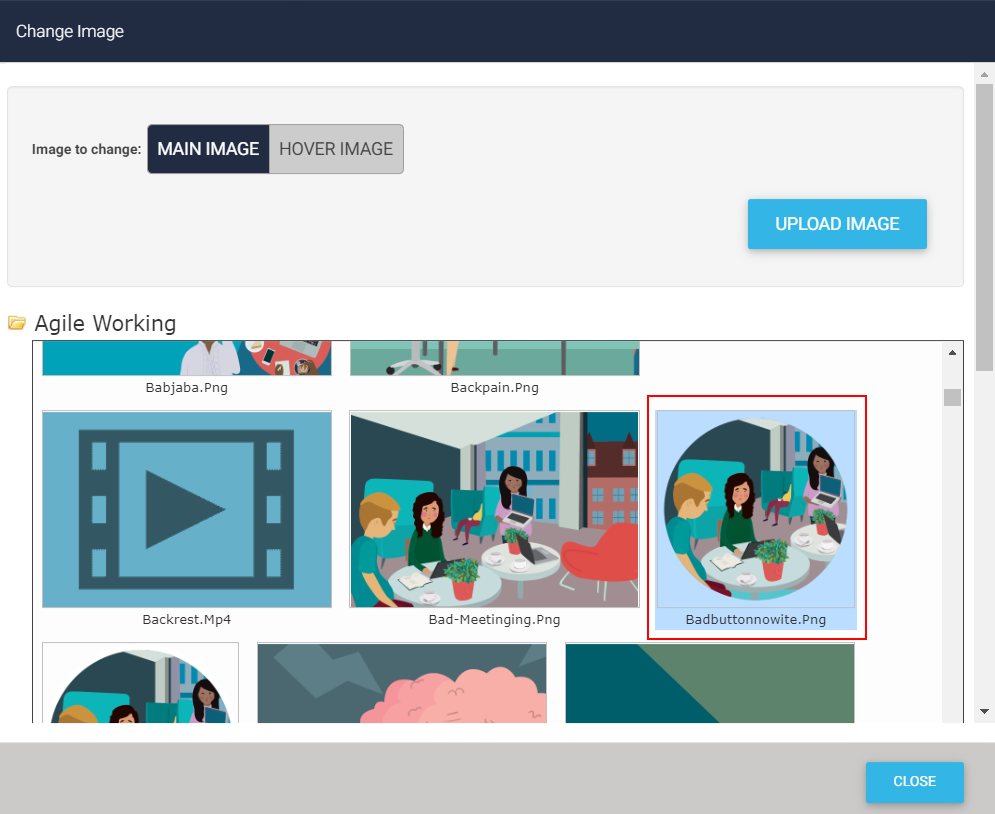
The success message is displayed at the top of the screen.

To update the functionality of the clickable image:
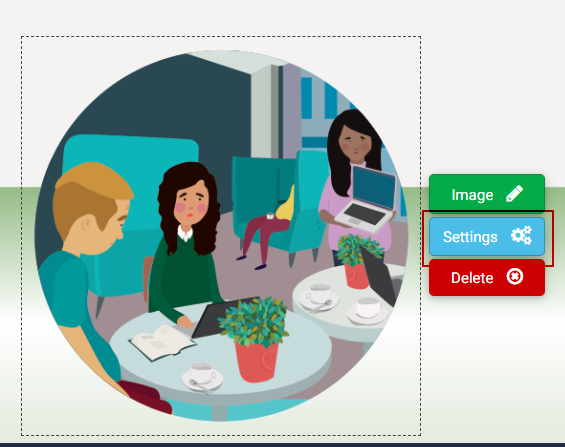
1. Hove over the image and select the Settings button.
2. In the Change Settings pop up, select the Do you want to move to another Scene or Module slider and move it to Yes.
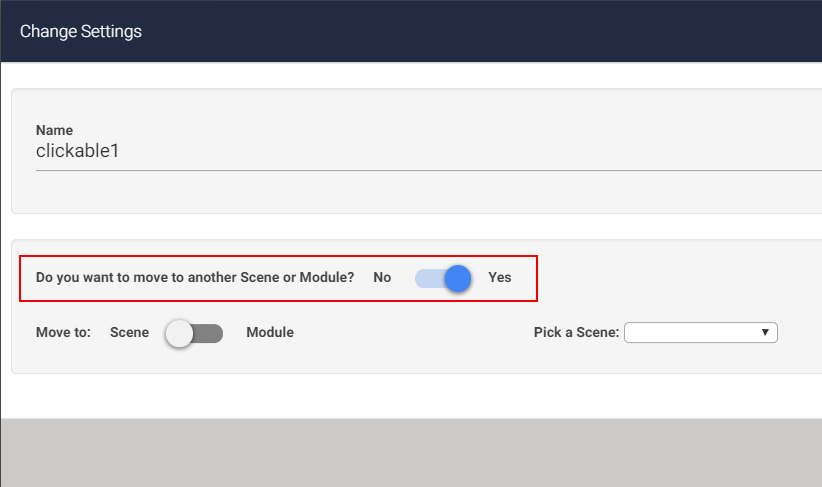
3. Using the next slider that then appears, you can select between navigating to a Scene or a Module. You can then use the drop down menu to the right of this to select the Scene/Module you want to jump to.

If you wish to delete a clickable image, simply hover over the image and click on the Delete button.